Understanding Heat Transfer Vinyl (HTV)

What is Heat Transfer Vinyl?
HTV is a flexible, durable, and versatile printing technique that transfers complex designs, shapes, and colors to cotton, polyester, and leather materials. While other printing methods, such as screen printing and sublimation, require specialized equipment, HTV only requires a vinyl cutter, a heat press, and the vinyl material you choose. This makes it an accessible and cost-effective option for small businesses and DIY enthusiasts.
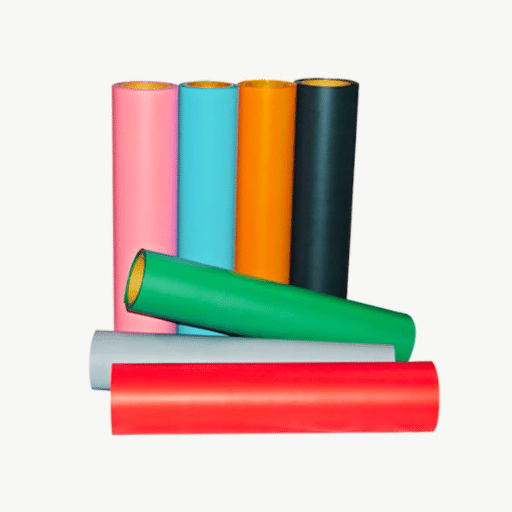
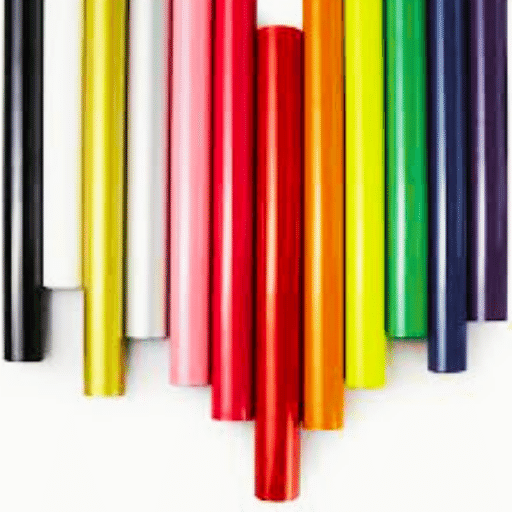
Different types of Heat Transfer Vinyl
HTV comes in various types and finishes, each with specific properties and recommendations. The traditional adhesive type is the most common and comes in multiple colors and finishes, such as matte, glossy, and semi-glossy. Glitter HTV adds sparkle and glam to designs, while specialty materials such as holographic, metallic, and patterned HTV create a unique and eye-catching look.
Benefits and Applications of HTV
One of the main benefits of HTV is its durability. The vinyl material resists fading, peeling, and cracking, making it a long-lasting option for textiles and other materials. It’s also flexible, allowing it to move and stretch with the fabric, making it ideal for sportswear and activewear. HTV is also relatively easy to use, with just a few steps to transfer the design onto the material surface.
HTV has various applications, including custom t-shirts, hats, bags, and other textiles. It’s also famous for creating branded items such as uniforms, banners, and trade show displays. With the emergence of new specialty materials, designers can create innovative projects such as vinyl signs, wall decals, and vehicle graphics.
Getting Started with Heat Transfer Vinyl
Essential Equipment for Using HTV
To use HTV successfully, specific essential equipment is necessary. This includes a cutting machine, a computer, a software program, a heat press, a weeding tool, a ruler, and a protective mat. A cutting device is responsible for cutting the vinyl shapes into precise designs, while the software program allows the user to create the designs on the computer. A heat press transfers the design from the vinyl to the fabric using heat and pressure. A weeding tool helps remove excess vinyl from the design, and a ruler ensures precise measurements.
Choosing the Right Heat Transfer Vinyl
Several factors should be considered when selecting the right HTV for a particular application. These include the vinyl’s color range, quality, and durability, as well as the thickness of the material and its compatibility with the type of fabric to which it will be applied. Different kinds of HTV are available, such as glitter HTV, standard HTV, and stretch HTV. Glitter HTV adds sparkle and shine to designs, while standard HTV is ideal for basic techniques, and stretch HTV is perfect for stretchy fabrics.
How to Start Using HTV: A Step-by-Step Guide
To start using HTV, first, create the design using the cutting machine and software program. Once the design is ready, cut the vinyl according to the invention using the cutting machine. We weed out excess vinyl using the weeding tool and apply the vinyl to the fabric. Place the fabric and vinyl under the heat press and apply heat and pressure for the recommended time and temperature. Finally, peel off the backing from the vinyl and enjoy the new custom-made design on the fabric. It is essential to follow all instructions carefully to ensure a successful application of HTV.
Creating with Heat Transfer Vinyl
Heat Transfer Vinyl, or HTV, is a vinyl material used to create custom designs on clothing and accessories. HTV is a popular choice for crafting due to its ease of use and versatility. Various types of HTV are available, including glitter, holographic, matte, and glossy, each offering different finishes. The type of vinyl you choose depends on the material you apply to and the desired outcome. For example, glitter HTV works well on t-shirts, while holographic HTV suits hats and bags.
Step-by-Step Process to Use Heat Transfer Vinyl
Using HTV involves a simple process that can be done at home with little experience. Firstly, you must design your artwork using graphic design software or a pre-designed template. Next, you cut the vinyl using a vinyl cutter and weed out the excess material using a weeding tool. After that, you place the vinyl on the fabric, cover it with a protective layer, and press it with a heat press or iron. Lastly, you peel off the protective layer and complete your design. Following the application instructions carefully ensures that the HTV adheres correctly.
Heat Press Settings for Different Types of HTV
When using a heat press, it is crucial to adjust the temperature and pressure settings depending on the type of vinyl and fabric you’re using. For example, glitter HTV requires a higher temperature and pressure than matte HTV. Some materials, such as cotton, may also need a higher temperature and pressure than polyester. Testing the settings on a small area before applying HTV to the entire fabric is recommended.
Special HTV Projects to Try
HTV offers endless possibilities for creative projects. Some special HTV projects you might want to try include creating custom monogrammed tote bags, designing unique baby onesies, or personalizing sports team uniforms. With HTV, you can also experiment with layering different colors to create unique designs. The possibilities are endless. With practice and experimentation, you can master the art of creating with heat transfer vinyl and bring your creative vision to life.
Learn More Information About Heat Transfer Vinyl

The Different Types of HTV
Several types of heat transfer vinyl are available, each designed to suit different fabrics and designs. Standard HTV comes in various colors and can be used on multiple materials, including cotton, blends, and polyesters. Glitter HTV adds sparkle and shine to designs and is excellent for use on dancewear and sportswear. Metallic HTV is perfect for creating a shiny, high-end look, while flock HTV adds texture and depth to designs. There are also printable HTV options, which allow designs to be printed onto the material before transfer.
How to Properly Cut HTV
Content: Cutting HTV is a crucial step in the fabric decoration process. To cut HTV, a vinyl cutter is used to create the design, which is then weeded or removed from the carrier sheet. Using the correct blade depth and speed when cutting HTV is essential to ensure clean and precise cuts. The carrier sheet should be kept intact during cutting to prevent the vinyl layer from adhering to the machine.
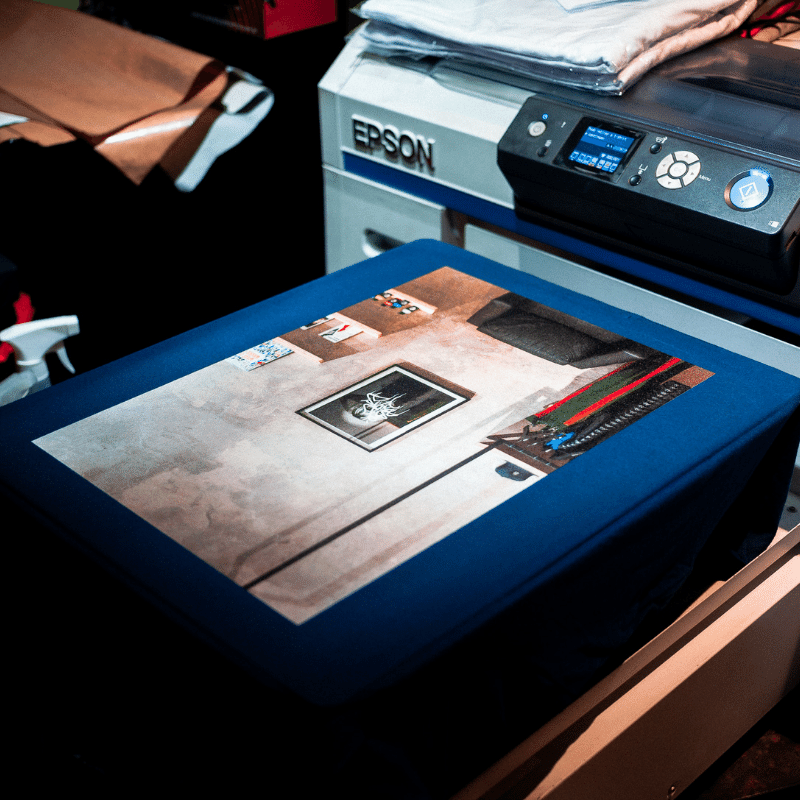
Tips for Applying HTV
Applying HTV requires a heat press, which uses pressure and heat to transfer the vinyl onto the fabric. Proper heat, stress, and time are crucial for a successful transfer. The ideal temperature, anxiety, and time required for each type of HTV may vary, so it is essential to refer to the manufacturer’s instructions. Pre-pressing the fabric before applying HTV is also essential to remove any moisture or wrinkles.
The Advantages of Using HTV
The use of HTV for fabric decoration offers several advantages over other techniques. Unlike screen printing, HTV allows for greater detail and color range in designs and is easier to set up. It is also more cost-effective for producing small runs or single pieces. HTV is durable and allows for the creation of long-lasting designs that can withstand washing, drying, and everyday wear and tear. Overall, HTV is a versatile and reliable choice for fabric decoration professionals.
FAQs
Q: How do I use heat transfer vinyl?
A: To use heat transfer vinyl, you need to cut out your design using a cutting machine such as a Cricut, then weed out the excess vinyl, and finally apply the layout to your desired surface using a heat press or an iron.
Q: Can I use any vinyl with heat transfer?
A: No, you cannot use vinyl with heat transfer. It would be best if you used specifically designed heat transfer vinyl with a heat-activated adhesive on one side.
Q: What are the best heat press settings for heat transfer vinyl?
A: The best heat press settings for heat transfer vinyl vary depending on the type of vinyl and the fabric you are using. It is recommended to follow the instructions provided by the vinyl manufacturer for optimal results.
Q: Can I apply heat transfer vinyl with an iron?
A: Yes, you can apply heat transfer vinyl with an iron. However, a heat press machine is usually recommended for better results and durability.
Q: Can I layer heat transfer vinyl?
A: You can layer heat transfer vinyl to create multi-colored designs. Just press each layer separately and follow the recommended heat press settings for each type of vinyl.
Q: What are the best practices for cutting heat transfer vinyl?
A: When cutting heat transfer vinyl, it is essential to use the appropriate cutting settings for your cutting machine and choose the right blade. You should also make sure to mirror your design before cutting.
Q: Which side of the heat transfer vinyl should I apply?

A: The heat-activated adhesive is typically on the back side of the heat transfer vinyl. So, you should apply the vinyl with the shiny side facing up.